Apoorva Appliance Support : Your Trusted Partner for Reliable Appliance Repair
Are your appliances acting up? Don't worry! Apoorva Appliance Support and Repair is here to save the day. Our dedicated team of expert technicians is committed to providing top-notch appliance repair services, ensuring your home runs smoothly without the hassle of malfunctioning equipment.
Why Choose Apoorva Appliance Support ?
Expert Technicians: Our team is composed of highly skilled professionals who are trained to handle a wide range of appliances from various brands. Whether it's a refrigerator, dishwasher, washing machine, or oven, we've got you covered.
Fast and Efficient Service: We understand how important your appliances are to your daily routine. That's why we strive to offer quick and efficient repair services, minimising downtime and getting your appliances back in working order as soon as possible.
Affordable Pricing: Quality service doesn't have to come with a hefty price tag. We offer competitive rates and transparent pricing, ensuring you get the best value for your money without any hidden costs.
Comprehensive Repairs: From minor fixes to major overhauls, our technicians are equipped to handle any issue. We use only high-quality replacement parts to ensure the longevity and reliability of your appliances.
Customer Satisfaction Guaranteed: Your satisfaction is our top priority. We take pride in our work and are dedicated to providing exceptional customer service. Our goal is to exceed your expectations and build lasting relationships with our clients.
Our Services
Refrigerator Repair: From cooling issues to leaks, we can fix it all.
Dishwasher Repair: Say goodbye to dirty dishes with our expert repair services.
Washing Machine Repair: We handle everything from spin cycle problems to drainage issues.
Oven and Stove Repair: Get back to cooking your favorite meals with our prompt repair services.
Microwave Repair: Quick and efficient repairs for all microwave problems.
Dryer Repair: Ensure your clothes come out dry and fresh with our reliable dryer repair services.
Other appliances like Cooktop, Range Hood, Air Conditioner, etc.,
Referral Program: Refer a friend and both of you will receive a 10% discount on your next service. There's no limit to the number of friends you can refer!
Ready to book your repair service? Contact us today!
Don't let faulty appliances disrupt your daily life. Trust Apoorva Appliance Support for fast, reliable, and affordable service. We're just a call away!
Range Hood Installation
A range hood is a crucial kitchen appliance that helps remove smoke, steam, odors, and airborne grease, creating a cleaner and more comfortable cooking environment. Proper installation ensures optimal performance and longevity of the range hood. Here’s a comprehensive guide to range hood installation.
Types of Range Hoods:
1. Under-Cabinet Hoods: Mounted beneath kitchen cabinets.
2. Wall-Mounted Hoods: Attached directly to the wall.
3. Island Hoods: Suspended from the ceiling above an island cooktop.
4. Downdraft Hoods: Installed in the cooktop and rise when in use.
5. Insert Range Hoods: Installed inside custom cabinetry.
Preparation:
1. Select the Right Range Hood:
- Size: Ensure the hood width matches or exceeds the width of your cooktop.
- Power: Choose a range hood with sufficient cubic feet per minute (CFM) to handle your cooking needs.
- Ducted vs. Ductless: Decide between ducted (venting to the outside) or ductless (recirculating air through filters).
2. Gather Tools and Materials:
- Measuring tape, pencil, level, screwdriver, drill, ductwork (if applicable), vent cap, electrical wiring, and connectors.
3. Ensure Proper Venting:
- For ducted hoods, determine the venting path and ensure there is an external vent outlet. For ductless hoods, ensure you have the appropriate charcoal filters.
Installation Steps:
1. Measure and Mark:
- Measure the height above the cooktop and mark the location on the wall or cabinet. The recommended height is usually 24 to 30 inches above the cooking surface.
2. Prepare the Wall or Cabinet:
- For wall-mounted or under-cabinet hoods, mark the screw holes and the location for the ductwork (if applicable). Drill pilot holes for screws and cut out the duct opening.
3. Install the Ductwork (for Ducted Hoods):
- Install the ductwork through the wall or ceiling to the external vent. Use metal duct tape to seal all connections and secure the vent cap outside.
4. Mount the Range Hood:
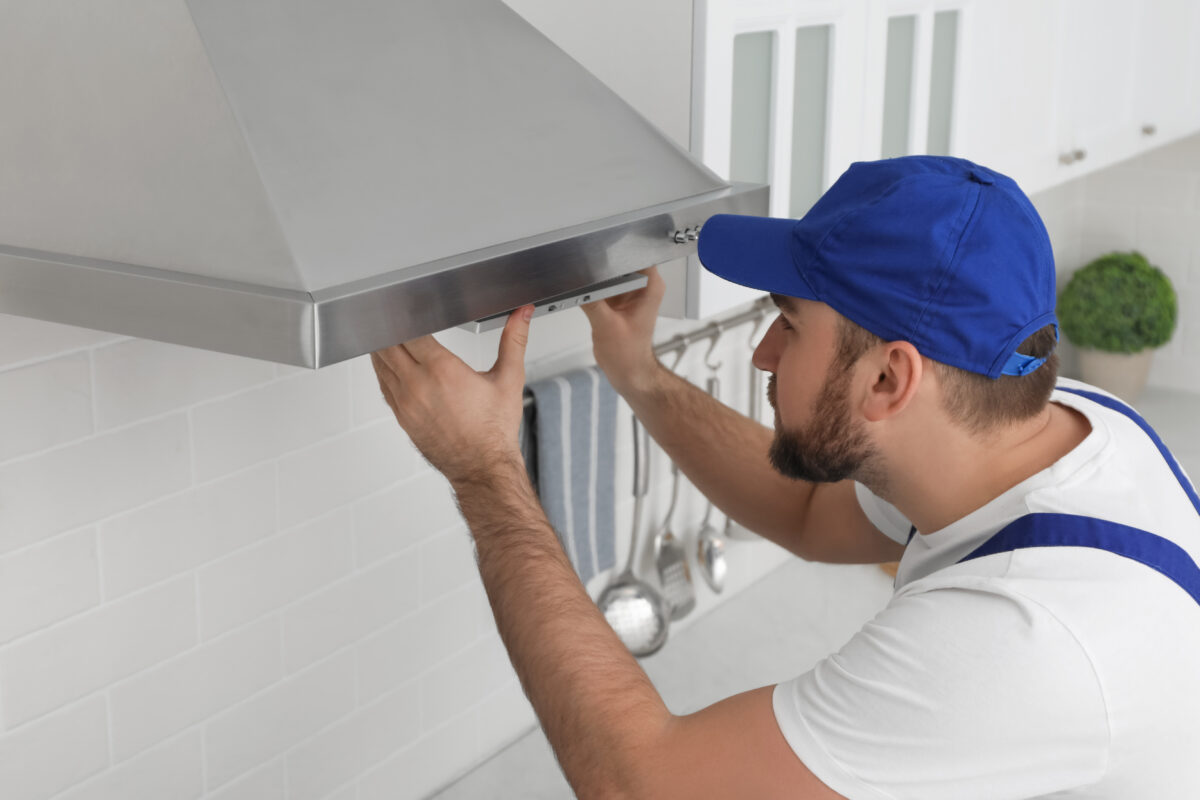
- Under-Cabinet: Lift the hood into place and secure it with screws through the cabinet’s pre-drilled holes.
- Wall-Mounted: Attach the mounting bracket to the wall and hang the hood onto the bracket, securing it with screws.
- Island: Install ceiling supports and mount the hood as per the manufacturer’s instructions.
5. Connect Electrical Wiring:
- Turn off the power at the circuit breaker. Connect the range hood’s wiring to the house wiring using wire nuts and secure connections in the junction box. Follow the manufacturer's wiring diagram.
6. Install Filters and Final Adjustments:
- Insert grease filters (and charcoal filters for ductless hoods). Ensure everything is securely fastened and aligned.
7. Test the Range Hood:
- Turn the power back on and test the range hood. Check the fan speeds, lights, and venting (for ducted hoods) to ensure everything is working correctly.
Maintenance Tips:
- Regularly clean or replace grease filters to maintain efficiency.
- For ductless hoods, replace charcoal filters as recommended by the manufacturer.
- Periodically check and clean the external vent cap to prevent blockages.
Benefits of Professional Installation:
- Expertise: Professionals ensure proper installation, avoiding common mistakes that can affect performance.
- Safety: Electrical and ductwork connections are handled safely and correctly.
- Efficiency: Professional installation ensures optimal performance and longevity of the range hood.
By following these steps or hiring a professional, you can ensure your range hood is installed correctly, providing a safe and efficient cooking environment.